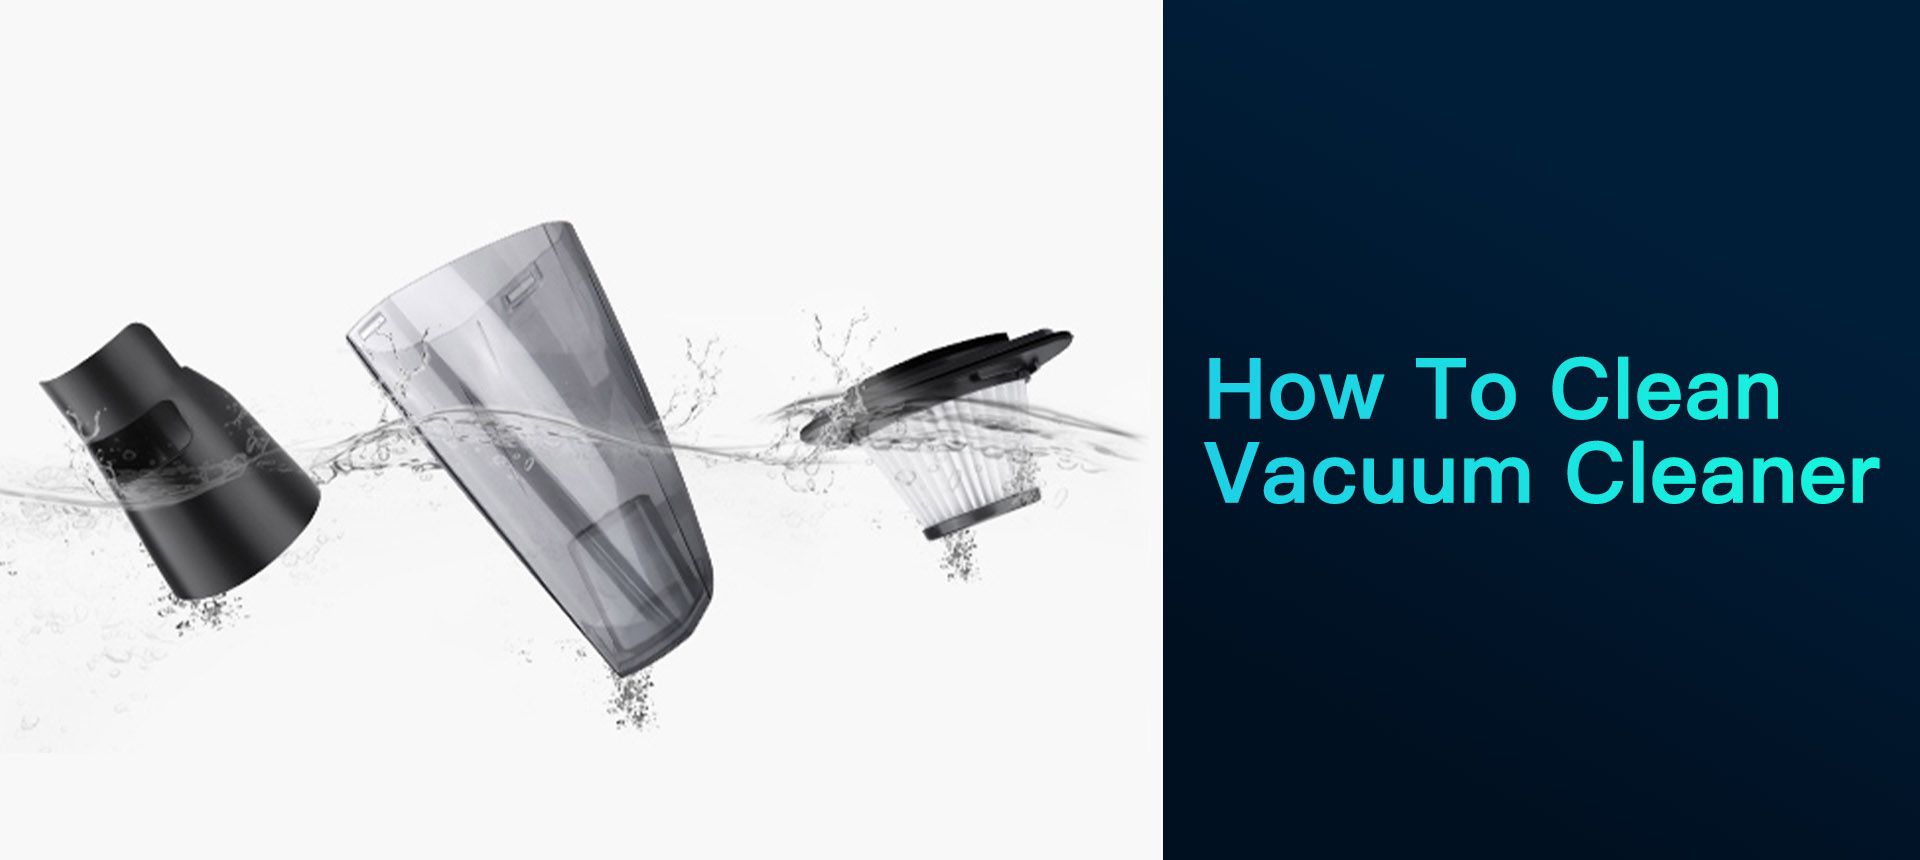
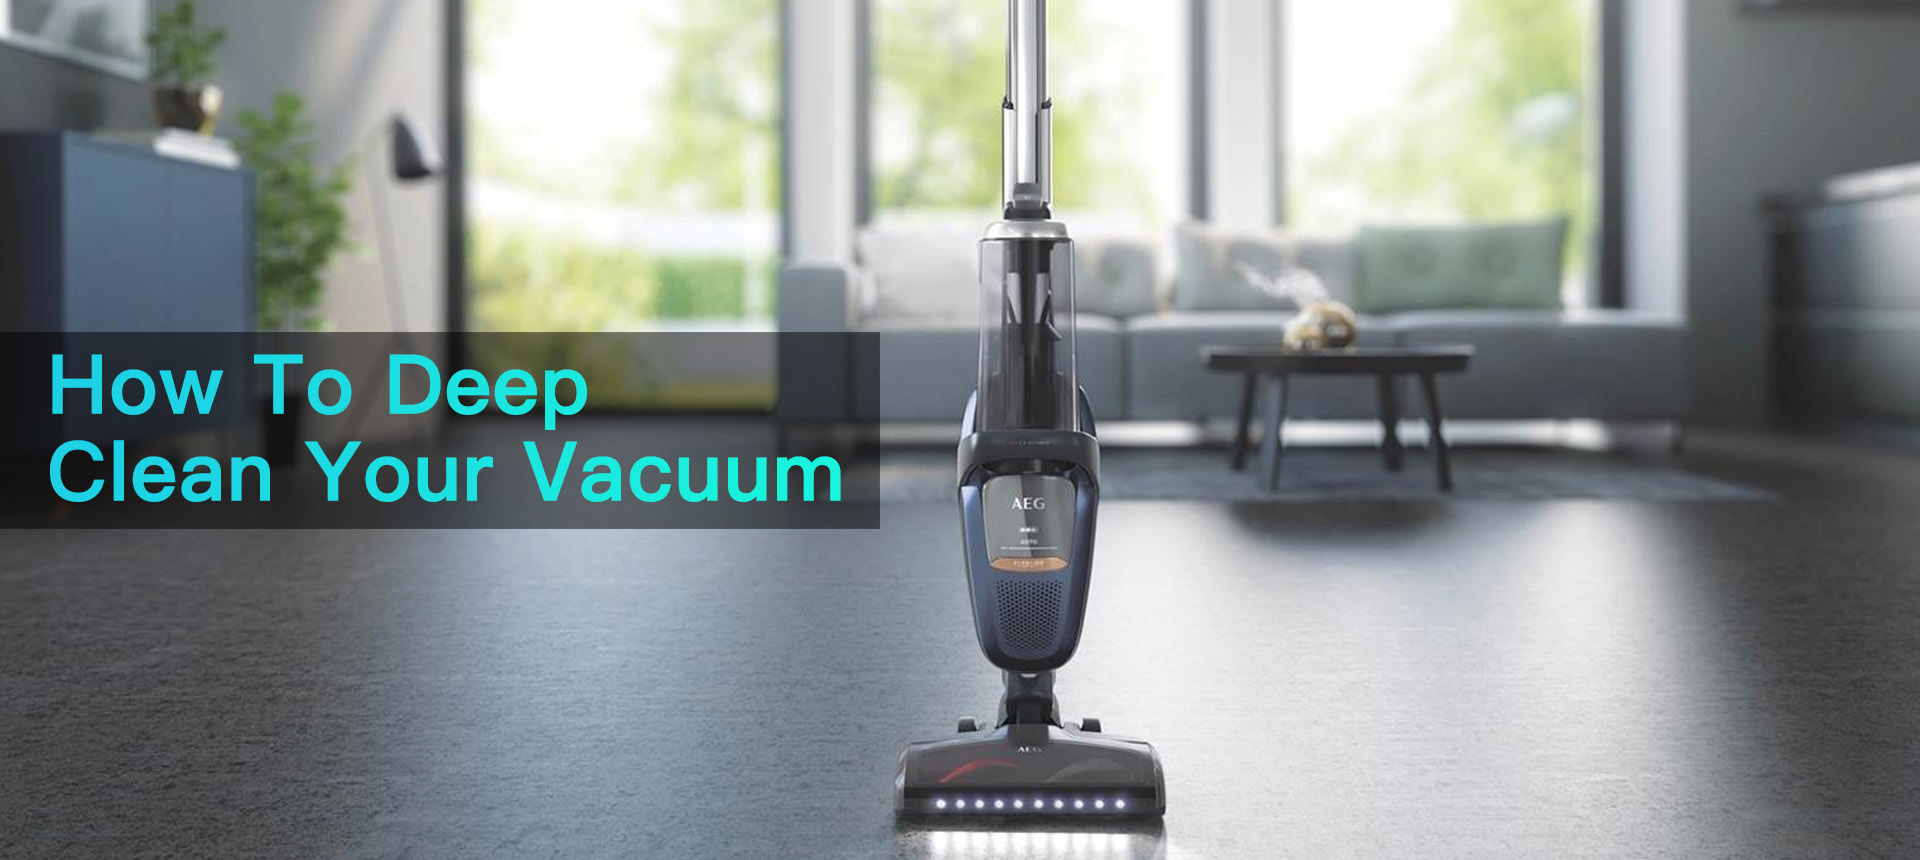
Vacuum Cleans need to be cleaned regularly, and properly care for them to running well. I’ll tell you precisely how to deep clean your vacuum cleaner in today’s article.
Do You Need to Clean a Vacuum?
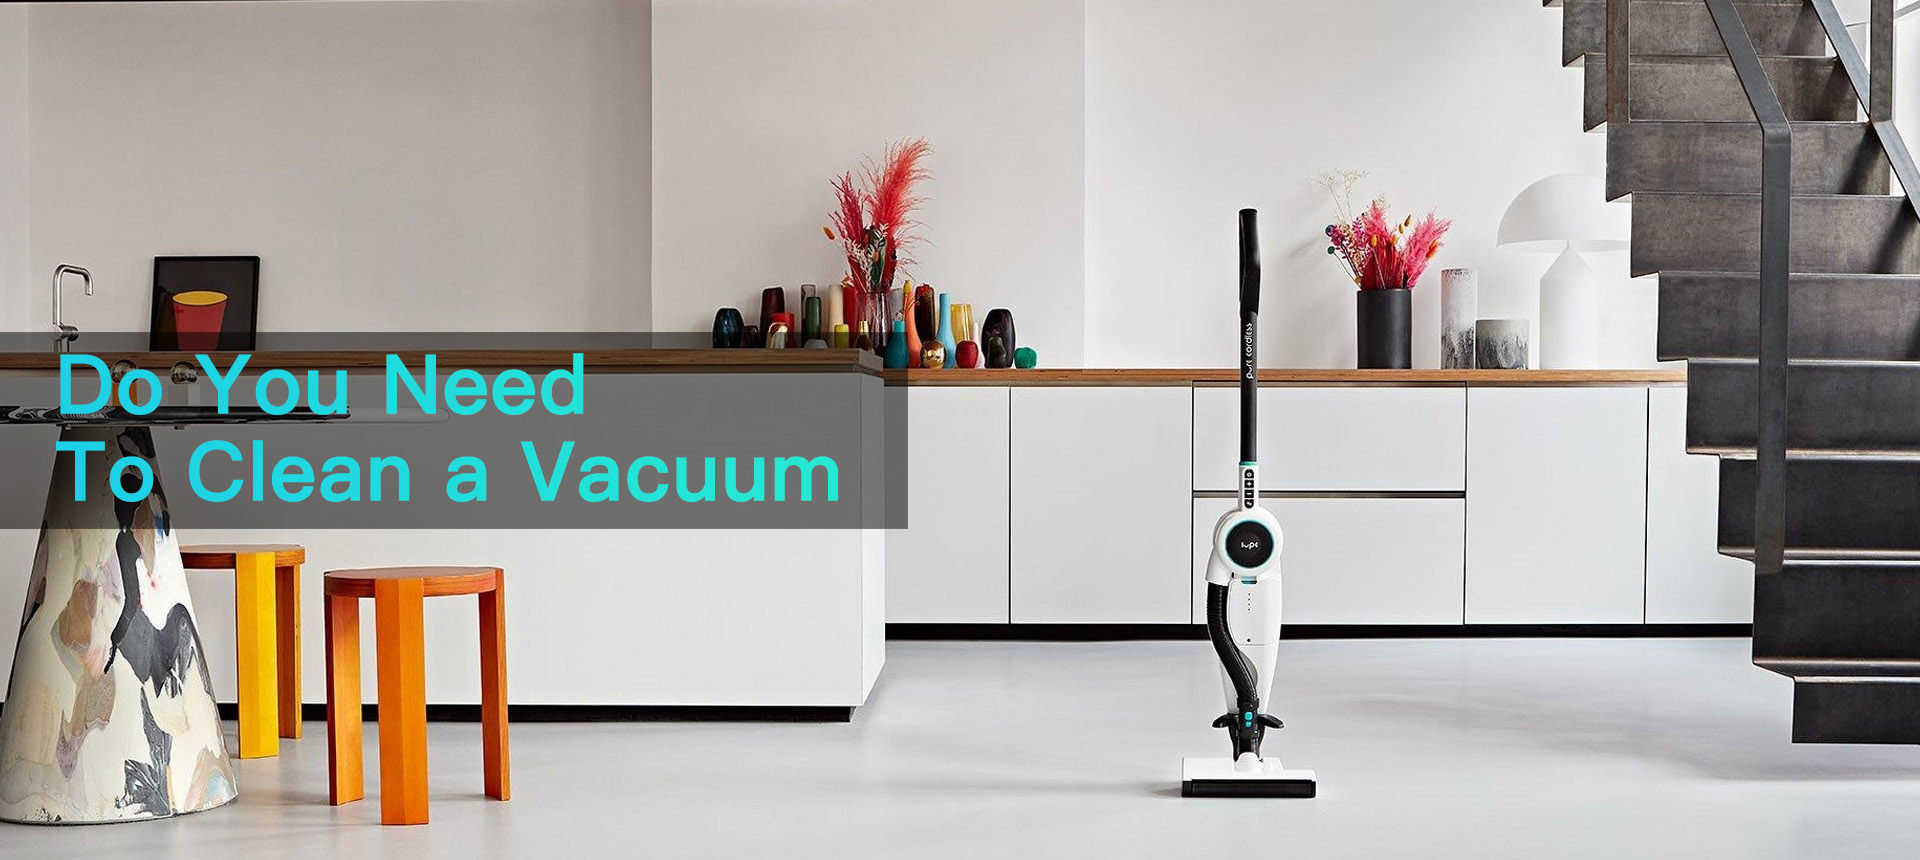
When it comes to maintaining your home tidy, your vacuum is just one of the most effective devices at hand. In addition to getting rid of dirt, dust, and hair from your rugs, several vacuums can also help with various other tasks like cleaning tough floorings, cleaning surface areas, and clearing out crevices!
Even though modern-day vacuums have come a long way since the bulky bagged behemoths of my youth, they aren’t yet with the ability to maintain themselves! In order to keep your vacuum in tip-top shape, you should intend to provide it a great cleaning and maintenance session every few months.
It’s very easy to neglect that the tools used for housekeeping require maintenance themselves. Nonetheless, keeping your cleaning devices in relatively good condition can boost their life-spans– and result in a much more thoroughly tidy.
The vacuum you utilize to clean your house also requires regular cleaning. Maintaining the filters, hose, add-ons, canister, and also various other vacuum cleaner parts devoid of dust and dirt can help your vacuum cleaner run more efficiently, so it lasts longer and picks up extra particles with every pass over the floor.
Why Clean your Vacuum Every 12 to 18 Months?
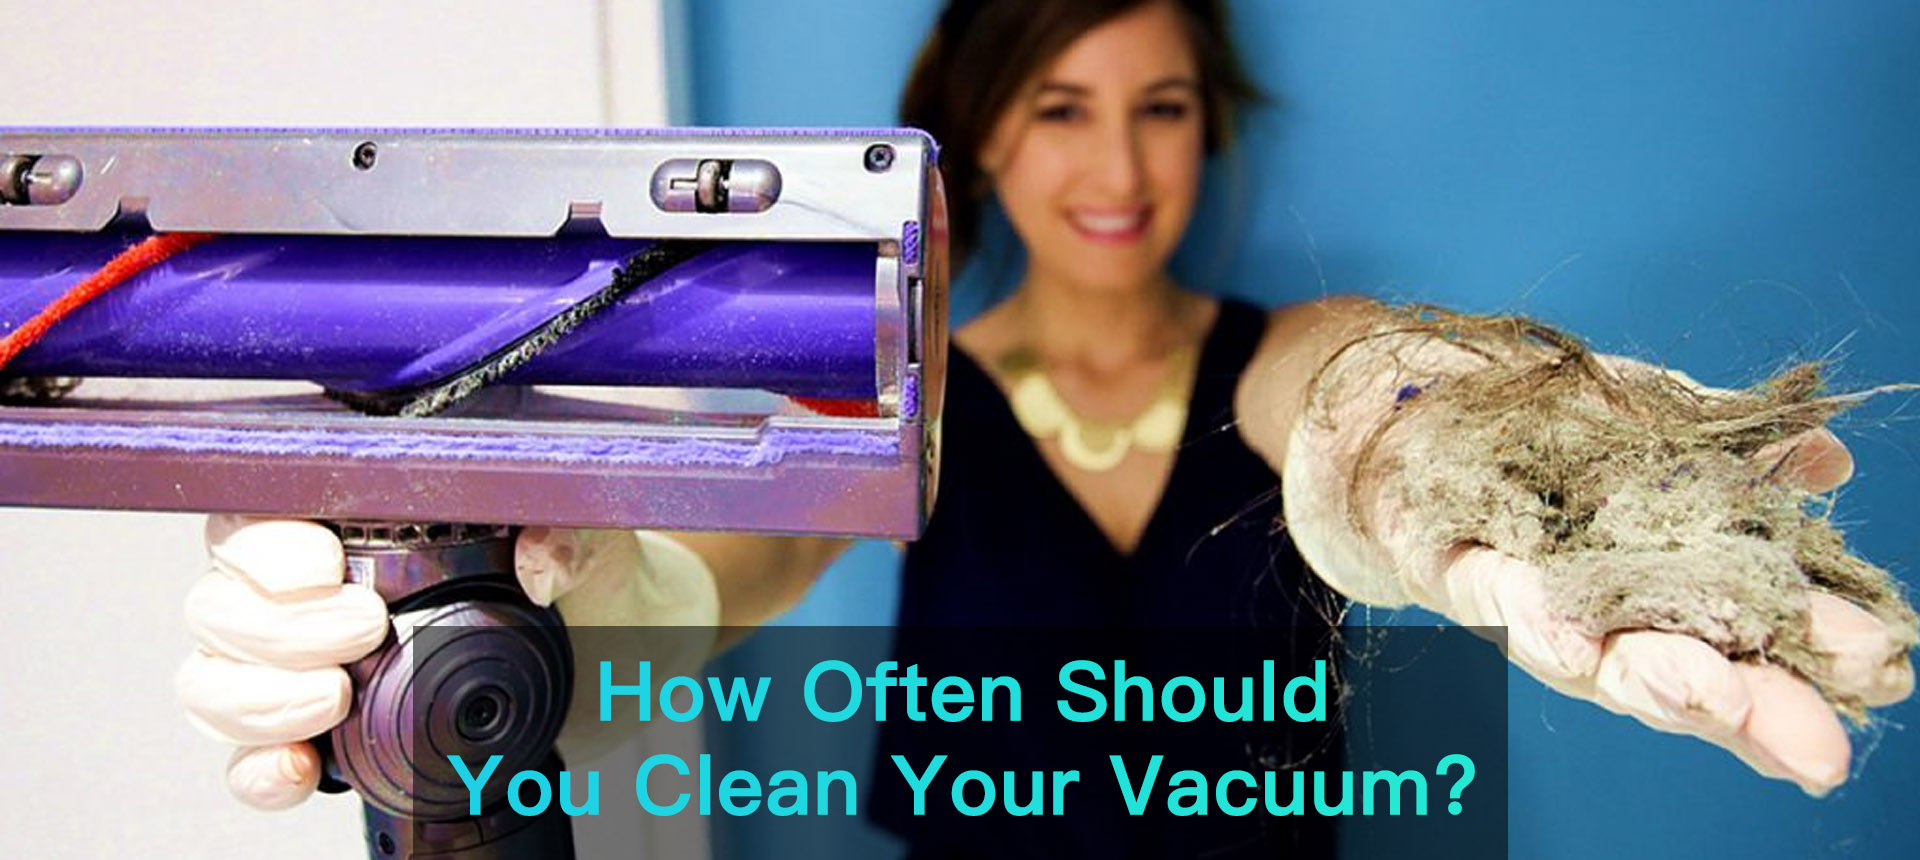
When you clean your vacuum you are taking care of the influence that dirt particles, dirt, and also lint accumulation is actually carrying your hoover’s bearing property. It’s not important to go into technological info about what the bearing casing is actually, however it suffices to state that it’s positioned on the bottom of the vacuum and likewise assistances to keep oil coming from dripping via the shaft. If oil leaks this will create increased temperature levels as well as harmful oil-water vapors– the worst-case case is your hoover catching on fire or even possibly blowing up!
Considerably much less outstanding, and ineffective bearing system is going to certainly minimize the brush barrels and likewise soften them– in short, they become a lot less certified, and also you might see this in decreased functionality to suck up fragments from area utilizing that characteristic. Smooth comb rolls will resemble they are actually making contact with the floor area while your vacuum is cleaning, however actually, they certainly never ever before carry out when they become soft! Soft brush rolls can create a halve of your vacuum cleanser’s basic efficiency– so they require to become replaced.
It goes without saying, carried-on ineffective method left enough time, can easily cost you the cost of a brand new vacuum cleaner– as an alternative, cleansing along with replacing faulty components every 12-18 months likely saves you cash.
How long do Vacuum Cleaners Last
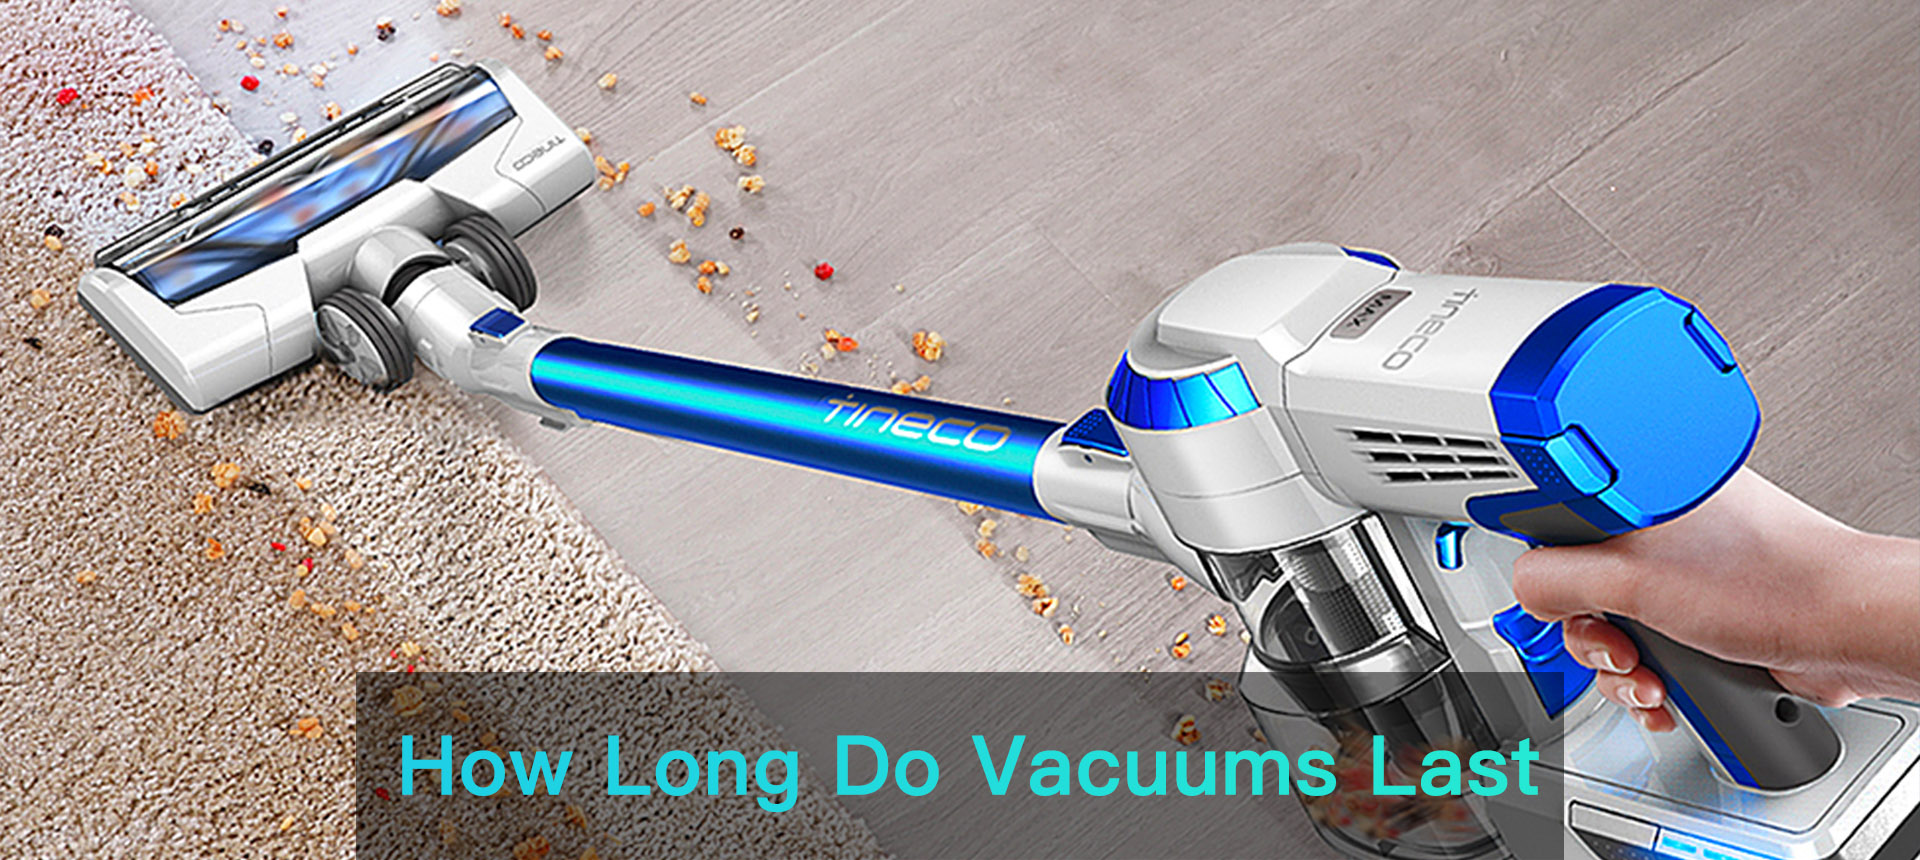
According to Consumer Reports, a vacuum cleaner lasts 8 years on average. But the life span differs wildly by not only brand name yet your own personal usage. You will not utilize your vacuum virtually as much as a family of 5 with two pets in a 3,000-square-foot home if you only have a little one-bedroom house to yourself.
So if your vacuum is past 8 years old and also has actually seen a lot of use, it might be time to upgrade.
If you’re not prepared to abandon on ol’ faithful or want to slow its decline while you save for the vacuum of your life, there are some points you can do to attempt as well as recover your old vacuum– at least for a while.
Is it Time to Replace a Vacuum Cleaner
It’s simple to leap to the final thought that it’s time for a brand-new one if your vacuum cleaner isn’t choosing up dirt as it should. However even if your vacuum is several years old as well as has seen a lot of use, it does not mean it’s time to trash it yet.
Prior to you consider spending a number of hundred bucks on a new vacuum cleaner, consider what it would certainly require to repair your existing one. There’s a solid chance it’s simply obstructed or needs a substitute component– repairs that won’t spend a lot.
Even if you invest some time fixing the issue and it turns out the vacuum does need to be replaced, you will not have to miss anything however a few hrs of time, at most.
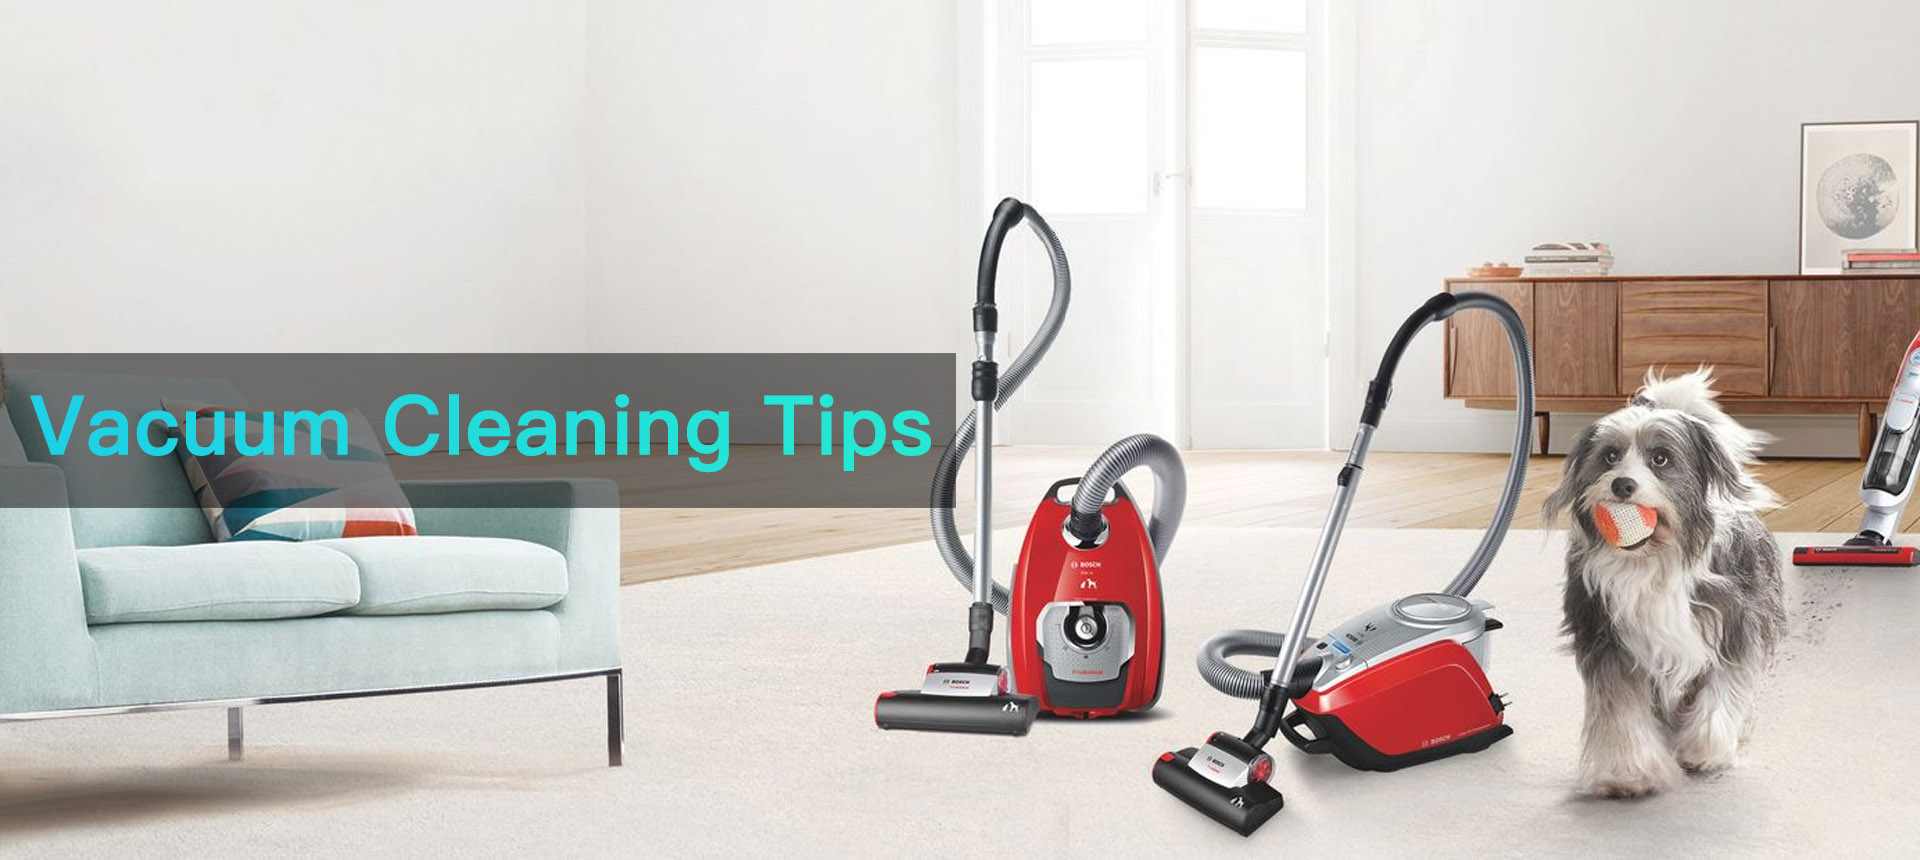
Tips for Cleaning a Vacuum
Clean your vacuum cleaner outdoors or in a well-ventilated area. You’ll be subjected to a lot of dust so you might intend to put on a mask over your nose and also mouth as well as rubber gloves to shield your hands.
Be safe, as well as begin by switching off the vacuum cleaner and disconnecting it.
Review your owner’s handbook, in case the supplier’s guidelines vary from the review provided in this guide.
If the filter in your vacuum cleaner isn’t washable, change it with a brand-new one. Make certain to get the correct size and type. If you wash a flat filter, lay it flat to dry, so it will not curl up and come to be difficult to re-install.
Allow filters to completely dry thoroughly prior to you put them back in the vacuum.
Wipe off the wheels of your vacuum often so you do not grind dust right into your rug or mark up your hard floorings.
If you have a problem getting rid of strings or hairs that have actually wrapped around your brush roller, attempt making use of among your vacuum accessories to suction them off.
How to Clean a Bagless Vacuum Cleaner
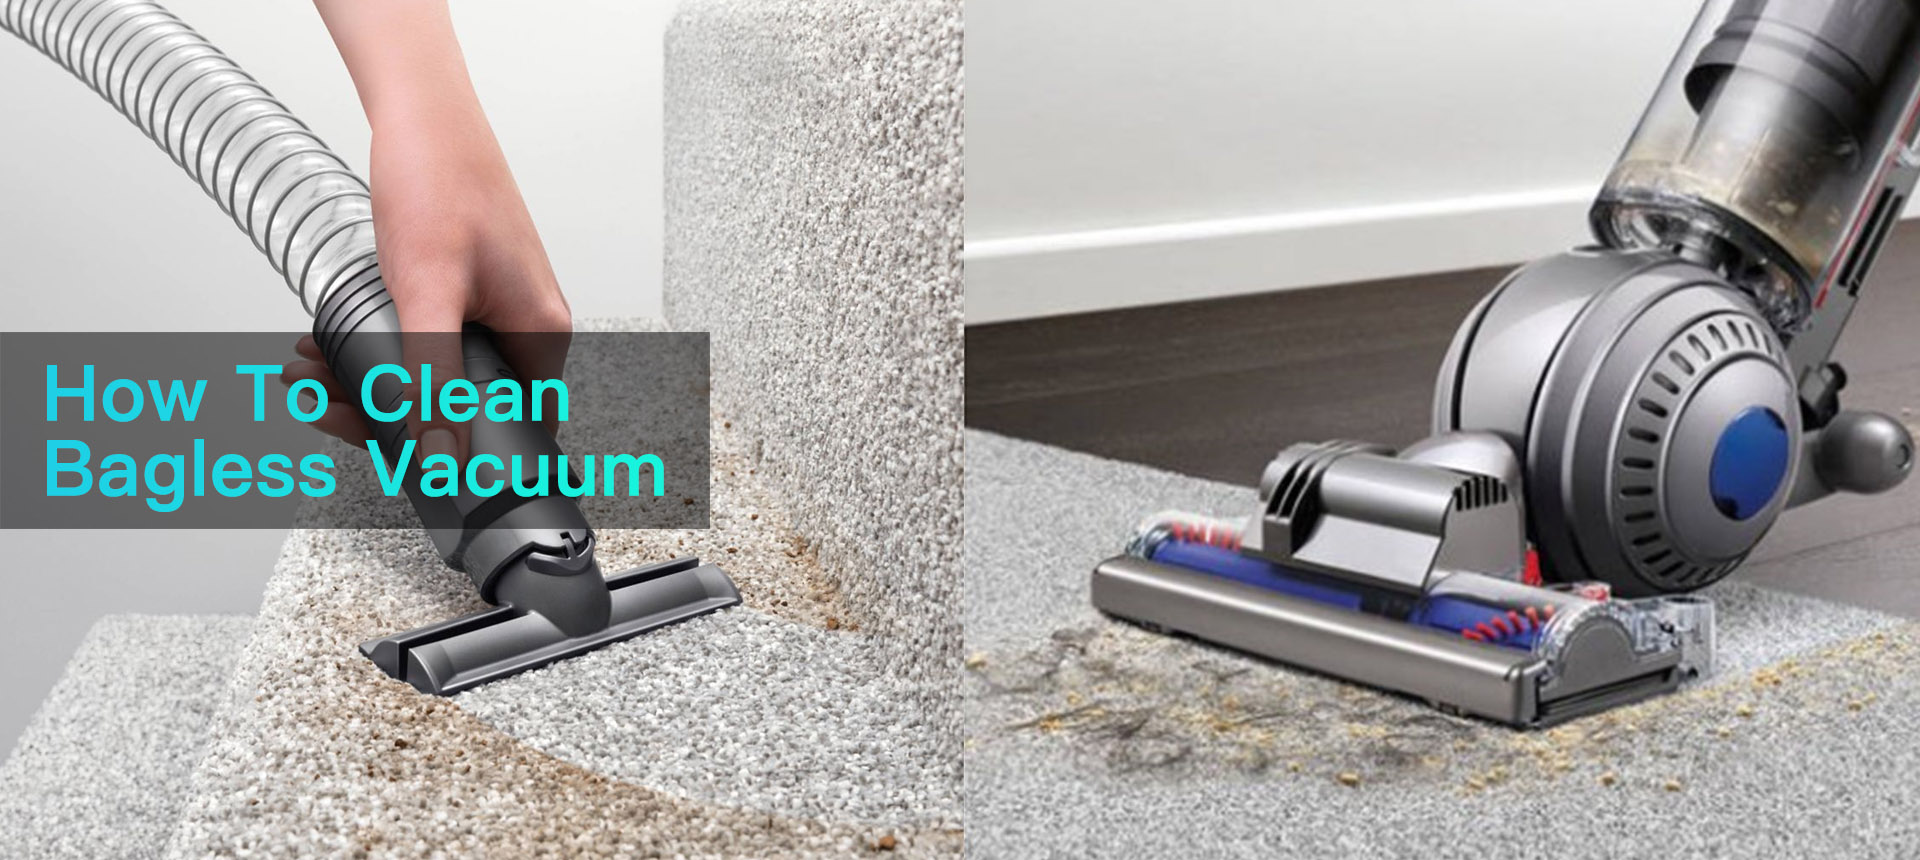
As soon as it stops functioning successfully,or once every 6 months provide your bagless vacuum cleaner a complete cleaning at least.
Many bagless vacuums have a dirt bin, a filter placed above the dirt container, several add-ons, a filter placed after the electric motor, and an exchangeable HEPA filter.
Remove the canister and also unload the stuff right into the garbage. Review your supplier’s guidelines to see if the canister can be washed in warm, soapy water, rinsed clean, and allowed to air dry. Otherwise, clean it out with a microfiber cloth and utilize a can of compressed air to blow out dust or dust you can not reach.
Next off, look for dirt as well as other debris in the attachments as well as tube. Again, wipe clean any parts you can’t wash. Change the HEPA filter every 6 months or as often as the supplier advises. Various other filters may require to be replaced more regularly, relying on your maker’s directions.
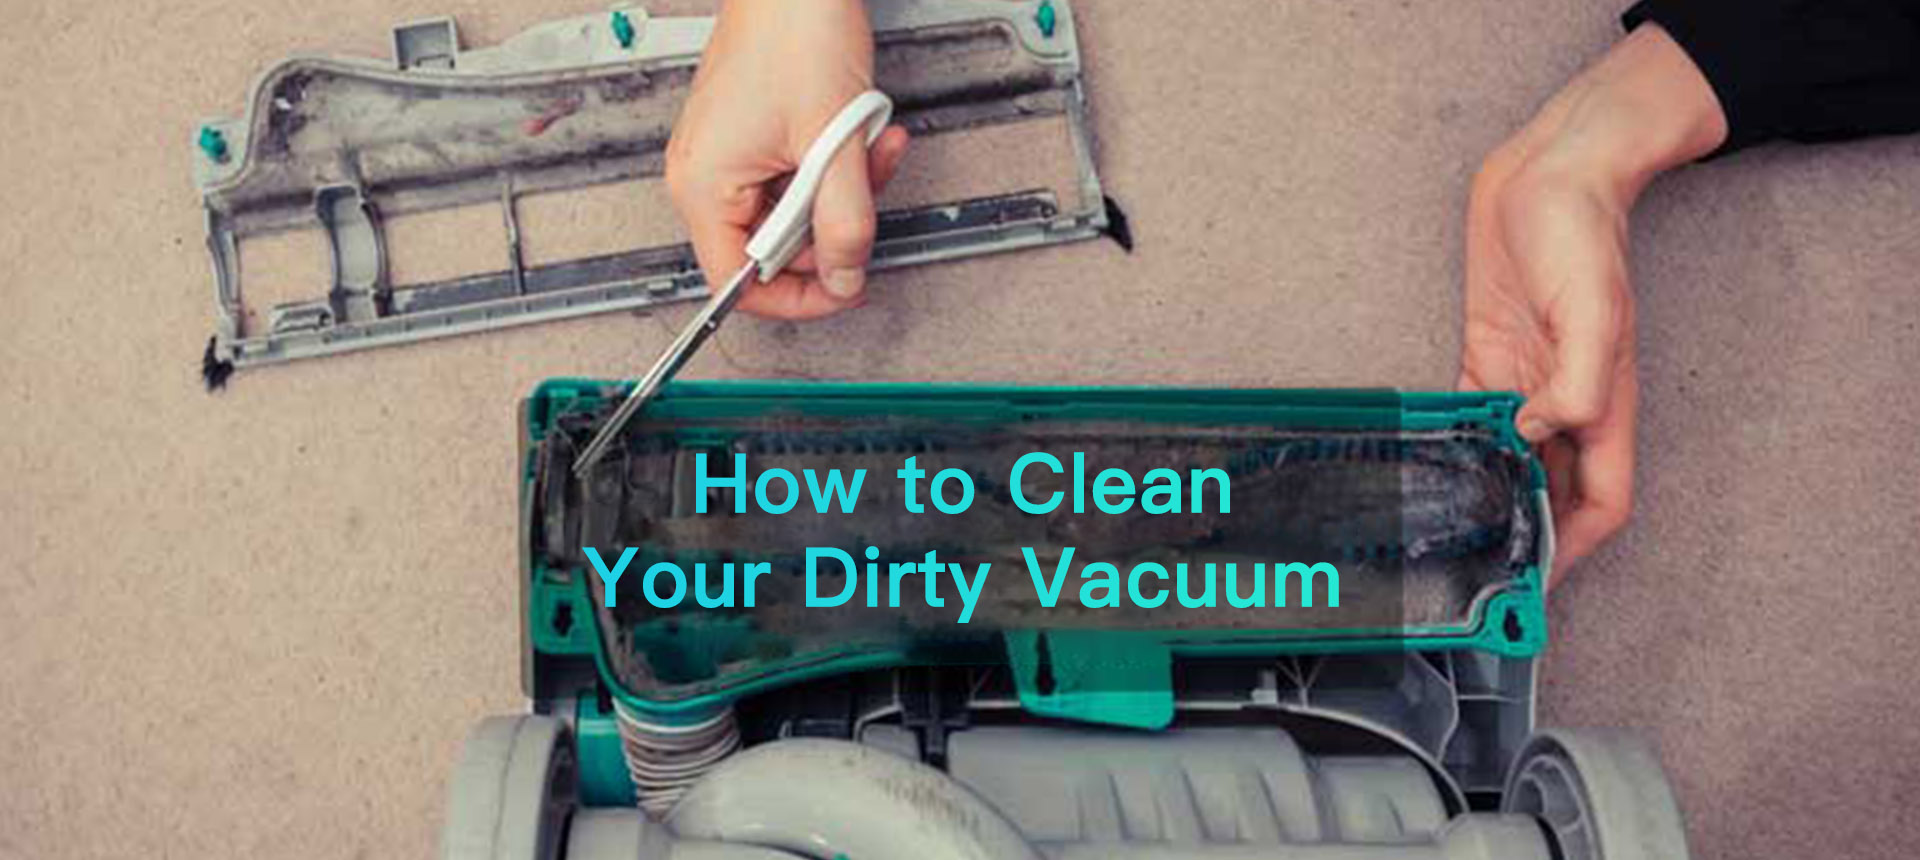
Clean the beater bar: Make use of a screwdriver to dismount the rotating floor brush on your machine. Pay attention to how it goes on, so you can replace it effectively. If hairs, strings and also various other fibers are wrapped around it, use pair of scissors to cut them loose or pull them off with your fingers. Take the brush outside as well as faucet or shake it to remove dust, dirt and also other debris.
Behind the rotating brush, you will see a small passageway (present in most vacuums) that is easily ignored. Remove any debris that may be obstructing this passageway. This is also a good time to check the vacuum drive belt for signs of wear and tear. Visible signs of aging and cuts mean it’s time to replace it.
Allow all cleaned components to completely dry before you placed them back in position.
Accomplish by cleaning the outside of the vacuum cleaner as well as its parts. Reassemble the vacuum cleaner and run for approximately 30 secs to loosen any clogs.
How to Clean a Bagged Vacuum Cleaner
When every 6 months or as required, a bagged vacuum cleaner additionally benefits from a deep cleaning at least.
To begin with, examine to see if the vacuum bag is full. Some vacuums have an indicator light that comes on to signal when it’s time to transform it. If the light gets on, seek a latch or button that releases the bag, press it as well as lift it out.
Replace the bag when it’s half-full if your maker doesn’t have an indicator light. Be sure to use a substitute bag made for your model. Secure it in position with the lock or button you used to launch it.
Next off, get rid of the rotating floor brush. Keep in mind how it takes place, so you can replace it appropriately after cleaning it. As with a bagless vacuum cleaner, examine the belt for indicators of wear or damage while the brush is off. Change it if needed.
As with a bagless machine, utilize your scissors or fingers to get rid of any strings, hairs or other particles wrapped around the brush. Shake it outside to dislodge any remaining debris.
Oil the brush bearings if you producer advises it. Wipe out the location where the brush is housed.
Clean the filter or filters by shaking them outside, washing them or replacing them as your manual suggests. Place all the components back in place.
How to Clean a Cordless Vacuum
To clean a cordless or stick vacuum cleaner, the first thing is disconnecting it from its battery charger.
Get rid of the dust container and also discard all the things into the garbage.
Utilize a screwdriver to unlock the flooring tool and remove the roller brush. Pull or cut off any particles, strings and also hair twisted around the roller. Wipe out the location that houses the roller and placed it back in position.
Unscrew or detach the filter from the top of the vacuum. Your manual might tell you to wash it with awesome water and allow it air dry extensively before changing it, or you might require to change it with a new one.
Wipe down the dust container with a damp paper towel or fabric. After it dries out, use a little paintbrush or a canister of compressed air to reach and clean limited rooms.
End up by wiping down the outside of the vacuum and also reconstructing the parts after they’re dry.
How to Clean a Vacuum Hose
The most vital point to understand how to clean a vacuum hose pipe is that you have to avoid penetrating it. Just detach the hose from the vacuum as well as insert a clothes dryer vent brush or the handle of a mop into it. Carefully push the brush or handle along to push out any type of particles, taking care not to harm the hose. When the pipe is empty, reattach it and rub out the exterior with a microfiber fabric.
How to Remove Bad Vacuum Cleaner Smells?
Why Does Vacuum Smell Bad?
To better take out and stop a filthy scent, recognizing where it arises from is actually vital.
Pet Hair
If you have a pet dog, pet cat, or even some other fuzzy animal, their hair may be the main cause of the odor. Household pet hair and also pollen is actually foul outside of your vacuum as well as are going to hold the odor inside your device.
Animal pee can likewise incorporate an additional odor. You’re not likely to vacuum your family pet urine directly, the fluid can stick to pet hair and also dust. The moment vacuumed, the combo of dried-out pee, as well as animal hair, generates the ideal recipe for a stuffy odor.
Mold Accumulation
If you do not have a pet, you’re unfortunately certainly not exempt from foul-smelling suctions.
Mold and mildew fragments can be located in vacuum bags and filters. Left behind ignored, they create that solid odor you may be accustomed to.
Mold needs to have moisture and also humidity to expand. Vacuuming a wet carpet could possibly deliver these fragments inside your unit, taking the odor to the following amount.
Burnt Belt
Your vacuum waistband can easily also be actually the origin. The waistband is actually made from rubber and also its rotation enables the brush to roll, capturing hair and various other dust.
Vacuum combs must be cleaned up on a regular basis. Without suitable maintenance, hair adhered to within the bristles might prevent the comb from spinning properly, harming the rubber. The waistband may additionally acquire captured on the brush.
Flexed and also excessive used districts create a quickly identifiable, melting plastic scent.
Excessive Dust
Dirt certainly never comes alone. When you’re vacuuming, various other parts of particles sign up with the flight. Whether you’re catching dried-out food or made use of coffee grinds, they all can easily add to a strong-smelling vacuum.
Permitting too much dirt to gather in your dirtbag or dirt container will inevitably impact the wellness of your vacuum.
How to Keep a Vacuum Cleaner Smelling Fresh
Occasionally you need to know how to clean a vacuum cleaner that scents. When you don’t empty the vacuum cleaner often sufficient or it sucks up something that smells negative, bad odors can happen. Vacant the vacuum cleaner, throw out the components in the outside garbage, and use an anti-bacterial cleaning solution to scrub the vacuum cleaner. Let it dry totally. If your manufacturer states your vacuum cleaner canister is washable, wash it out with warm, soapy water, and after that rinse it and allow it dry. Also, make sure your vacuum cleaner’s tube and intake valves are clear and open.
Often the belt in your vacuum can begin to scent from rubbing when a rotating floor brush experiences resistance of some kind. Replace the belt if it’s harmed or over-used.
If you smell a hot, mechanical odor, the vacuum’s electrical electric cable may be damaged or worn. Be safe and get a professional to change it, as a faulty cord can cause a fire or electric shock.
If you have a bagged vacuum, freshen it by placing a new dryer sheet via the hole in a brand-new bag or spray a little vanilla remove on a paper towel. Then tear the paper towel into small items and vacuum them up. Carpeting fresheners are likewise readily available to purchase. They can be sprinkled over your carpet and after that vacuumed up to make an area odor fresh as well as clean.
Follow your manufacturer’s instructions to clean a robot vacuum, smart home enabled Vaccum, or backpack vacuum, as the steps can differ by brand name and design.
Learning how to clean a vacuum cleaner the right way will help your device run more efficiently and lengthen its operating life. Don’t forget to regularly check the filters for buildup and the dust bag or bin while you’re at it.
Leave a Reply